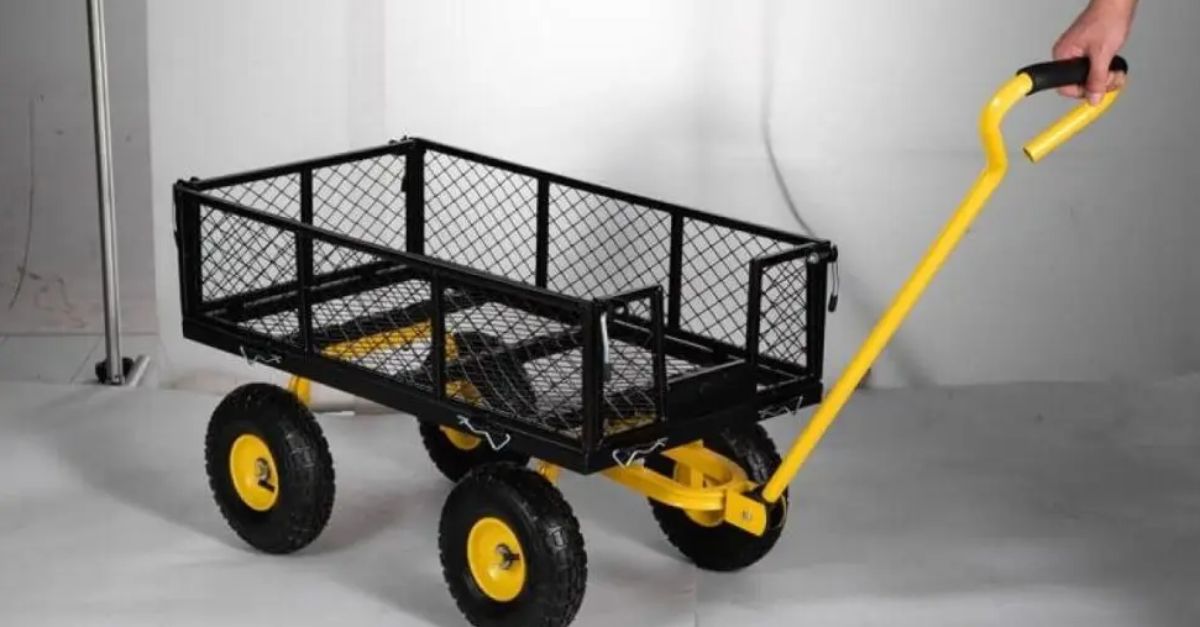
Gardening is a rewarding passion, but it often involves hauling heavy bags of soil, numerous potted plants, cumbersome tools, and fresh produce across varying terrains. Without the right equipment, these tasks can quickly become a back-breaking chore. While commercial garden carts are readily available, they often come with a hefty price tag and may not perfectly align with your unique needs. This is where the magic of DIY comes in. Learning how to make your own DIY grow cart empowers you to create a bespoke solution that not only saves money but also enhances your gardening efficiency and adds a personal touch to your outdoor space.
Imagine a sturdy, weather-resistant cart, perfectly sized to navigate your garden paths, featuring custom compartments for your seed packets, a dedicated spot for your watering can, or even a specialized shelf for delicate seedlings. This dream can become a reality when you embark on building your own. Throughout this article, we’ll explore the undeniable benefits of a custom-built cart, guide you through the essential materials, and provide comprehensive steps to construct a durable and highly functional garden companion, transforming the way you approach your growing endeavors.
Why Embark on Your Own DIY Garden Cart Project?
There’s a profound satisfaction that comes with crafting something with your own hands, especially when it becomes an indispensable tool in your daily life. Building your own garden cart is more than just a fun weekend project; it's a strategic decision for any dedicated gardener looking to optimize their workflow and invest wisely. Here’s why taking on the challenge of learning how to make your own DIY grow cart is an excellent idea:
- Unmatched Customization: Commercial carts often offer a one-size-fits-all approach, which rarely truly fits all. When you build your own, you dictate the dimensions, features, and functionality. Need a wider base for large planting trays? Prefer deeper sides for hauling compost? Want integrated tool holders for your pruners and trowel? You can design every detail to perfectly suit your garden's layout, the specific plants you grow, and the tools you use most frequently. This level of personalization is simply unattainable with off-the-shelf options, making it a true "grow cart" designed for your unique growing style.
- Significant Cost Savings: High-quality, durable garden carts can be surprisingly expensive. By sourcing materials yourself, especially by repurposing items like old bicycle tires for wheels, you can drastically reduce the overall cost. The investment in materials and a little bit of your time typically amounts to much less than purchasing a comparable commercial model, leaving more budget for plants and seeds!
- Superior Durability and Longevity: When you construct your own cart, you control the quality of the materials and the craftsmanship. By choosing weather-resistant treated lumber, heavy-duty hardware, and robust wheels, you can build a cart designed to withstand the elements and the rigors of daily use for years to come. This ensures your investment of time and money yields a tool that won't falter after just a season or two.
- Personalized Aesthetic and Pride: Beyond functionality, your DIY cart becomes a reflection of your personality and dedication to your garden. You can choose specific finishes, paint colors, or even unique design elements that complement your outdoor space. There’s immense pride in pushing a cart you built yourself, knowing it’s perfectly tailored to your needs.
- A Fun and Rewarding Project: For many, the process of building itself is enjoyable. It’s an opportunity to learn new skills, work with your hands, and see a tangible result of your efforts. It’s a rewarding experience that extends far beyond the utility of the finished product.
Essential Materials for Your Robust DIY Garden Cart
Before you dive into construction, gathering the right materials is crucial. The longevity and functionality of your cart depend heavily on the quality and type of components you choose. Here's a comprehensive list of what you'll need, along with insights into why each material is essential for a durable and efficient DIY garden cart:
- 3/4-inch Treated Plywood: This will form the main body and base of your cart. Treated plywood is paramount because your cart will spend much of its life outdoors, exposed to moisture and varying temperatures. The treatment prevents rot and insect damage. For ease of handling, many hardware stores like Home Depot offer cutting services, saving you time and ensuring precise cuts.
- Aluminum Trim: Used to reinforce and protect the edges of your plywood panels. Beyond adding a polished, professional look, the trim significantly enhances the cart's durability, preventing chipping and wear on the edges, especially important when frequently bumping against garden beds or obstacles. A miter saw is ideal for cutting and creating clean, mitered corners.
- Heavy-Duty Construction Adhesive: This provides a formidable bond, especially for attaching the aluminum trim to the plywood. When combined with screws, it creates an incredibly strong and lasting connection, essential for a cart that will be subjected to heavy loads and frequent movement.
- Screws (Various Sizes): You'll need an assortment of outdoor-grade screws (e.g., galvanized or stainless steel) for different purposes:
- Shorter screws for attaching aluminum trim.
- Longer, robust screws for securing plywood panels together and attaching the 2x4 lumber.
- Treated 2x4 Lumber: This will be utilized for the cart's structural base and uprights for the handle. Similar to the plywood, using treated lumber is non-negotiable for outdoor projects to prevent rot, warping, and extend the lifespan of your cart.
- 1-inch Wooden Dowel: This forms the comfortable crossbar for your cart's handle. Its round shape makes it easy to grip, and it’s simple to install securely into the 2x4 uprights.
- Metal Conduit, All-Thread Rod, Washers, and Lock Nuts: These components together form the robust axle for your wheels.
- Metal Conduit: Provides a stable, smooth sleeve for the all-thread rod, preventing it from bending under heavy loads.
- All-Thread Rod: The main structural component of the axle, providing the necessary strength to support the wheels and cart's weight.
- Washers: Used on either side of the wheels to reduce friction and distribute pressure from the nuts, allowing the wheels to spin freely.
- Lock Nuts: Essential for securing the wheels in place and preventing them from loosening due to vibration and movement.
- Wheels: The choice of wheels is critical for maneuverability. You can purchase new, heavy-duty pneumatic (air-filled) or solid rubber wheels, or creatively repurpose old bicycle tires. Consider the terrain of your garden – large, sturdy wheels are best for navigating uneven ground, grass, and gravel with ease. Pneumatic wheels offer better shock absorption, which is great for delicate plants or avoiding excessive jostling of materials.
Carefully selecting these materials will lay a strong foundation for a durable, functional, and long-lasting garden cart that will serve your growing needs for many seasons.
Step-by-Step Guide: Crafting Your Custom Garden Companion
Building your own cart is a rewarding process that combines careful planning with practical construction. While the exact dimensions can vary based on your personal needs, here’s a generalized step-by-step guide to help you construct a sturdy and efficient garden cart. For a more detailed walkthrough with precise measurements and visual aids, you might find Build a Durable DIY Garden Cart: Easy Steps for Beginners particularly helpful.
Step 1: Planning and Cutting Your Foundation
Begin by deciding on the dimensions of your cart. A common width, like 31 inches, offers good stability and fits well between garden rows. Consider the length and depth based on what you typically transport – whether it’s large bags of potting mix, multiple seedling trays, or harvested produce. Once your dimensions are finalized:
- Measure and Mark: Carefully measure and mark your 3/4-inch treated plywood according to your desired base, side, and end panel dimensions.
- Cut Plywood: Using a circular saw or having a hardware store cut the plywood for you, precisely cut the pieces. Accuracy here is key for a square and stable cart. Always wear safety glasses and hearing protection when operating power tools.
Step 2: Assembling the Base and Frame
The base provides the primary support, and the 2x4s will create a robust frame:
- Attach Side Panels: Fasten the side and end panels of the plywood to the base using screws. Pre-drilling pilot holes will prevent the wood from splitting. Apply construction adhesive along the joining edges before screwing for added strength.
- Build the 2x4 Frame: Cut four pieces of treated 2x4 lumber to create a rectangular frame for the underside of your cart’s base. This frame will elevate the cart slightly and provide solid attachment points for the axle. Secure this frame to the bottom of your plywood base with robust screws, ensuring it’s centered and square.
Step 3: Reinforcing Edges and Aesthetics
Adding aluminum trim not only enhances durability but also gives your cart a professional finish:
- Cut Aluminum Trim: Measure and cut the aluminum trim pieces to match the edges of your plywood panels. Use a miter saw to cut 45-degree angles for clean, joined corners.
- Attach Trim: Apply a generous bead of heavy-duty construction adhesive to the plywood edges, then carefully position the aluminum trim. Secure it further with small, outdoor-grade screws, ensuring they are flush or slightly recessed. Wipe away any excess adhesive immediately.
Step 4: Crafting the Handle
A sturdy and comfortable handle is essential for easy maneuverability:
- Prepare Uprights: Cut two pieces of treated 2x4 lumber to your desired handle height. These will serve as the uprights.
- Attach Uprights: Securely attach these 2x4 uprights to one end of your cart’s base, ensuring they are parallel and firmly anchored with screws and adhesive.
- Install Dowel: Drill appropriate-sized holes into the top ends of the 2x4 uprights to snugly fit your 1-inch wooden dowel. Insert the dowel and secure it with screws through the sides of the uprights into the dowel, or by using construction adhesive.
Step 5: Installing the Axle and Wheels
This is where your cart gains its mobility:
- Prepare Axle Assembly: Cut your metal conduit slightly shorter than the width of your cart. Cut the all-thread rod longer than the conduit, allowing enough length to extend through your wheels and accommodate washers and lock nuts on both ends.
- Mount Axle: Attach two small blocks of treated 2x4 lumber to the underside of the main 2x4 base frame, positioned to cradle the metal conduit. Use U-bolts or strong metal straps to secure the conduit firmly to these blocks.
- Install Wheels: Slide a washer onto the all-thread rod, then feed the rod through the metal conduit. On each exposed end of the rod, slide on a wheel, followed by another washer, and finally, a lock nut. Tighten the lock nuts securely, but ensure the wheels can spin freely without excessive wobble.
Customization Ideas for Your Ultimate Grow Cart
Now that the basic structure is complete, it's time to truly make it your own "grow cart" by adding features that cater to your specific gardening activities. For more ideas and different structural plans, feel free to Explore 10 DIY Garden Cart Plans for Your Perfect Build.
- Removable Shelves or Dividers: Perfect for organizing seedling trays, pots, or separating different types of soil amendments.
- Integrated Tool Holders: Attach PVC pipes or wooden boxes to the sides for easy access to hand trowels, pruners, or gloves.
- Watering Can Hook: A simple hook on the handle or side ensures your watering can is always at hand.
- Seed Packet Caddy: A small, shallow box attached to an inner wall can keep your seed packets, labels, and marker pens organized.
- Lining for Loose Materials: Staple a heavy-duty tarp or pond liner to the inside of the cart to make it ideal for transporting loose soil, compost, or mulch without leakage.
- Paint or Stain: Beyond protection, a coat of outdoor paint or stain in your favorite color can personalize your cart and enhance its aesthetic appeal in your garden.
Conclusion
Building your own DIY garden cart is a transformative project that significantly boosts efficiency, saves money, and adds a unique, personal touch to your gardening routine. By learning how to make your own DIY grow cart, you gain a versatile companion tailored precisely to your needs, capable of hauling everything from heavy soil bags and delicate seedlings to your harvest and essential tools. The process itself is immensely rewarding, culminating in a durable, customized piece of equipment that will serve you faithfully for years to come. So, gather your materials, roll up your sleeves, and embark on this empowering journey to create the ultimate gardening helper you’ve always wanted.
