Build a Durable DIY Garden Cart: Easy Steps for Beginners
Transforming your gardening experience doesn't have to break the bank or involve off-the-shelf solutions that don't quite fit your needs. Imagine effortlessly moving heavy bags of soil, delicate seedlings, or bulky tools across your yard, all with a custom-built cart designed by you. If you're looking for a rewarding weekend project that adds immense practicality to your green thumb routine, learning how to make your own DIY grow cart is the perfect place to start. This comprehensive guide will walk you through building a sturdy, functional, and durable garden cart that will stand up to the elements and serve you for years.
While many commercial options exist, constructing your own offers unparalleled benefits. You gain the freedom to customize dimensions, features, and aesthetics, ensuring your cart is perfectly suited to your garden's unique layout and your personal gardening style. Plus, there's a deep satisfaction in crafting a valuable tool with your own hands. Having built several variations of these carts, I've gathered invaluable insights and practical tips that I'm eager to share, making this project accessible even for beginner DIY enthusiasts.
Why Craft Your Own Custom Garden/Grow Cart?
The allure of a DIY garden cart goes beyond mere cost savings, though that's certainly a significant factor. When you decide to build your own, you unlock a world of customization and personal satisfaction that a store-bought model simply can't offer. Here’s why investing your time in creating a homemade grow cart is a smart choice for any gardener:
- Tailored to Your Needs: Commercial garden carts often come in standard sizes, which might be too wide for your garden paths or lack specific features you desire. Building your own allows you to dictate the dimensions, ensuring it perfectly navigates narrow rows, fits through shed doors, or holds exactly what you need – be it oversized pots, multiple seed trays, or specialized tools. This is particularly useful if you need a dedicated "grow cart" for transporting young plants or delicate starts, ensuring they remain stable and protected.
- Significant Cost Savings: High-quality, durable garden carts can be surprisingly expensive. By sourcing materials yourself, often repurposing items like old bicycle wheels, you can drastically reduce the overall cost. The upfront investment in tools (if you don't already have them) will pay off with future DIY projects.
- Unmatched Durability: You control the quality of materials. Opting for treated lumber, robust hardware, and strong wheels ensures your cart can withstand heavy loads and harsh outdoor conditions for years, far outlasting cheaper plastic alternatives. The pride in a truly durable, DIY Garden Cart: Customize, Save Money, & Boost Efficiency is immense.
- A Rewarding Project: There’s a unique joy and sense of accomplishment that comes from building something useful with your own hands. It’s a fun weekend activity that enhances your DIY skills and provides a tangible, practical reward.
- Eco-Friendly Option: Repurposing materials, like old tires, contributes to sustainability and reduces waste, making your project environmentally conscious.
Essential Materials for Your Robust Grow Cart
Before you dive into construction, gathering the right materials is crucial. Durability, weather resistance, and strength are key considerations for a cart that will live outdoors and handle heavy loads. Here’s a breakdown of what you'll need and why:
- 3/4-inch Treated Plywood: This will form the main bed and sides of your cart. Treated plywood is non-negotiable for outdoor use as it resists rot, decay, and insect infestation. Its thickness provides the necessary rigidity for heavy loads. Consider having larger sheets cut to size at the hardware store to make transport and initial handling easier.
- Treated 2x4 Lumber: This lumber will create the sturdy frame, base, and support structures for your cart, including the handles. Like the plywood, opting for treated wood is vital for longevity in outdoor environments.
- Aluminum Trim: Adding aluminum trim to the edges of your plywood not only provides a professional, polished finish but also significantly boosts the cart's durability by protecting vulnerable edges from impacts and moisture. Using a miter saw to cut corners at 45-degree angles ensures a clean, seamless look.
- Heavy-Duty Construction Adhesive & Exterior-Grade Screws: A combination of strong construction adhesive and screws will create an incredibly robust bond for all wooden components and the aluminum trim. Don't rely on just one; their combined strength prevents loosening over time, especially with vibration and heavy use.
- 1-inch Wooden Dowel: This will serve as the comfortable handlebar for pulling your grow cart. Choose a sturdy hardwood dowel for better grip and durability.
- Axle Components:
- Metal Conduit (e.g., EMT or rigid): A length of metal conduit will act as the sleeve for your axle, providing stability and preventing the axle rod from bending under weight.
- All-Thread Rod (or sturdy steel rod): This will be your actual axle, running through the conduit and supporting the wheels. Ensure it's strong enough for the loads you anticipate.
- Washers & Lock Nuts: Essential for securing the wheels onto the axle, preventing them from wobbling or coming off. Lock nuts offer extra security against vibration.
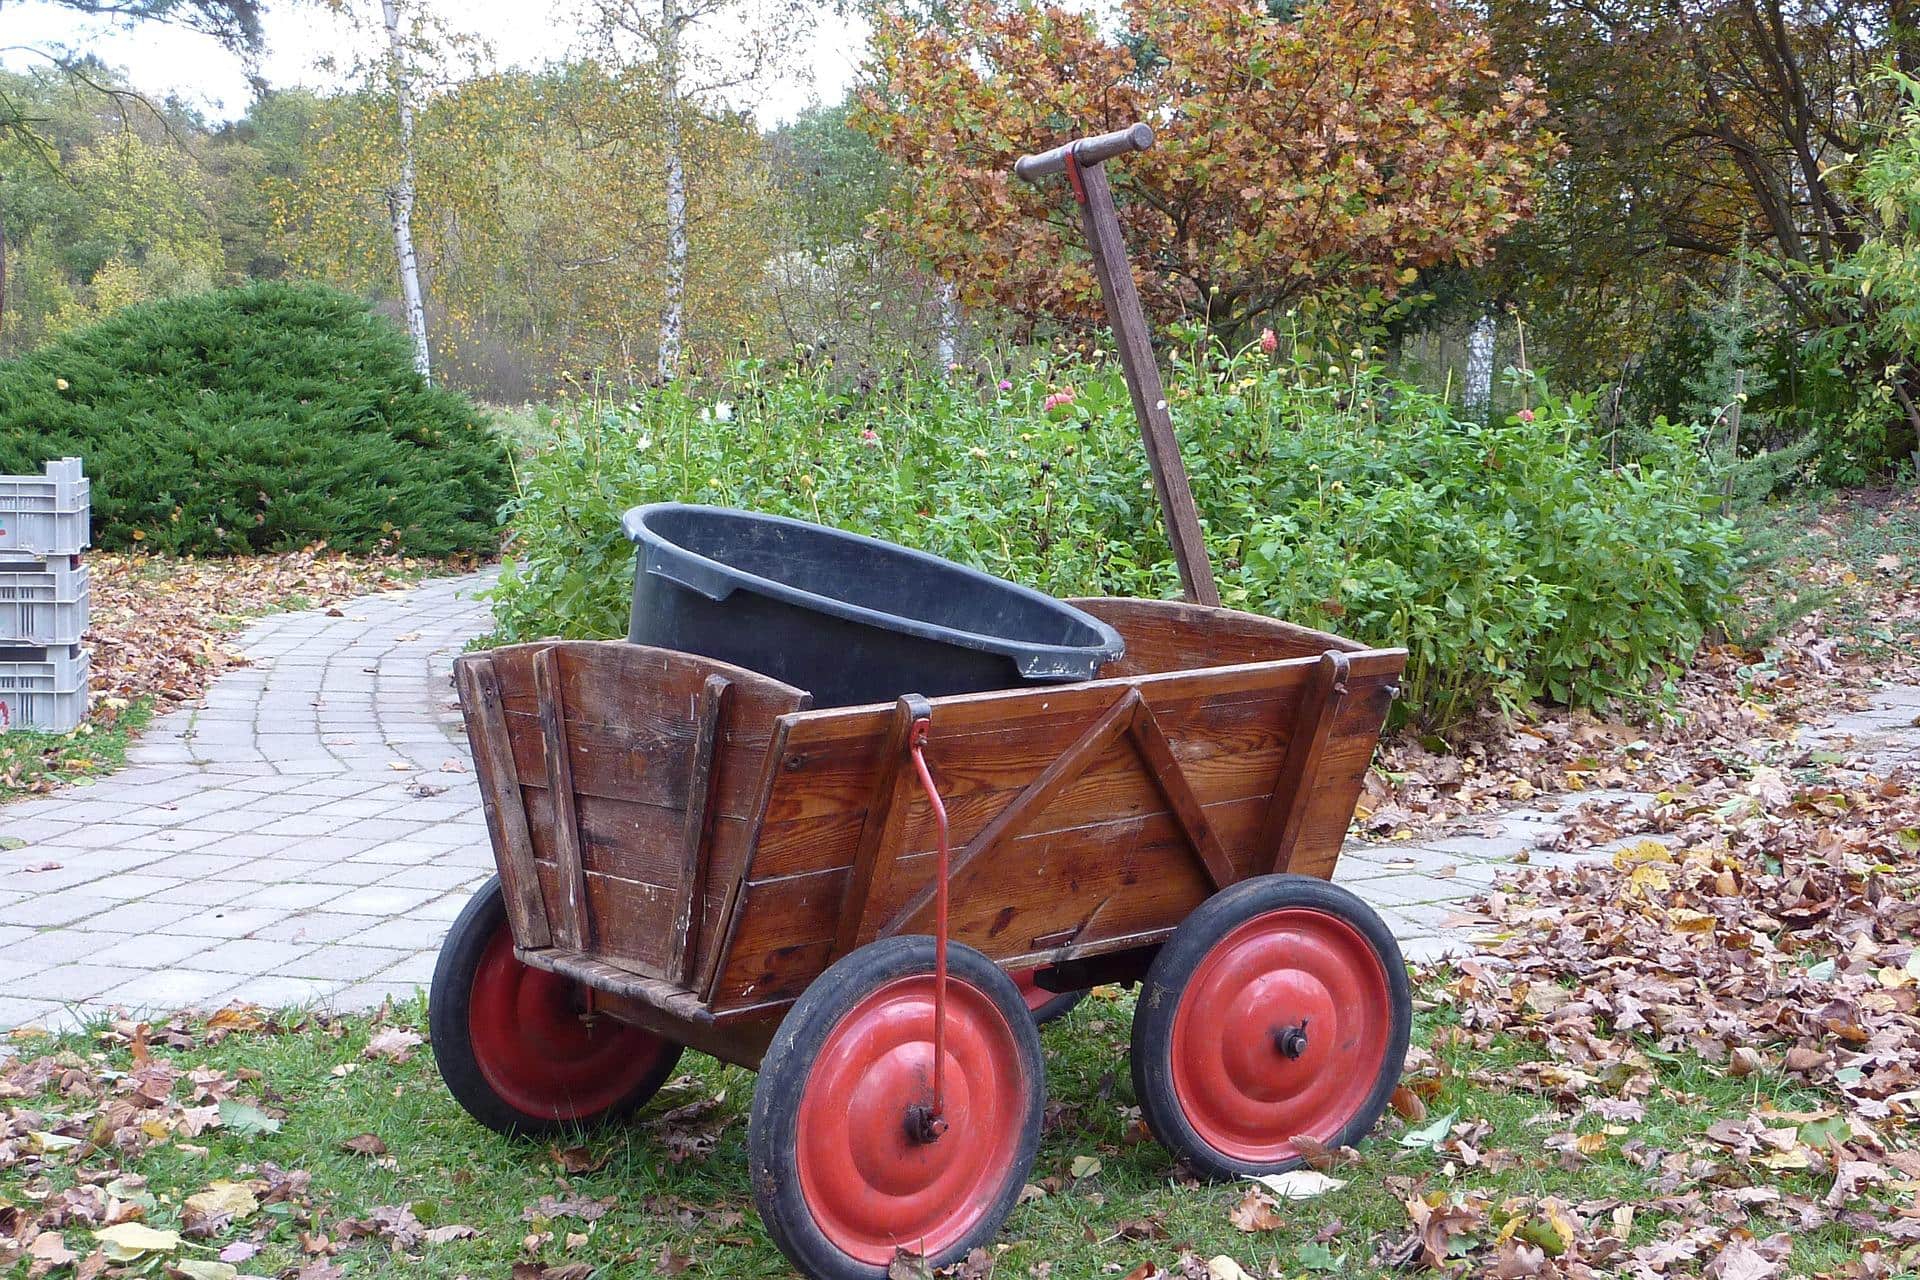
- Wheels: The type of wheels you choose will impact your cart's maneuverability and load capacity. You can purchase new, heavy-duty pneumatic (air-filled) or solid rubber wheels designed for garden carts. Alternatively, repurposing sturdy old bicycle tires can be a cost-effective and eco-friendly solution, just ensure they are in good condition and can bear significant weight. Large diameter wheels are generally better for uneven terrain.
Step-by-Step Guide: Crafting Your DIY Grow Cart
With your materials ready, it's time to bring your vision to life. This section details the process of building your durable garden cart, from the initial cuts to the final assembly.
Step 1: Planning and Cutting the Plywood Body
Begin by meticulously planning the dimensions of your cart. A common and practical width is around 31 inches, allowing it to navigate most garden paths easily. Decide on the length and depth based on your specific needs – consider how many bags of soil, pots, or tools you typically transport. Once your dimensions are finalized:
- Measure and Mark: Using a tape measure, straightedge, and pencil, carefully mark your 3/4-inch treated plywood for the bottom bed and the four side panels. Precision here is key for a well-fitting cart.
- Cut Plywood: Using a circular saw or jigsaw, carefully cut out the plywood pieces. Always wear safety glasses and ear protection. If you had your plywood cut at the store, verify the dimensions before proceeding.
- Smooth Edges: Lightly sand any rough edges to prevent splinters and ensure a cleaner finish.
Step 2: Assembling the Cart's Body and Reinforcement
Now, you'll join the plywood pieces to form the main body of your grow cart.
- Attach Sides to Base: Apply a generous bead of heavy-duty construction adhesive along the bottom edge of one side panel. Position it flush with the edge of the plywood base and secure it with exterior-grade screws. Pre-drilling pilot holes can prevent wood splitting. Repeat this for all four side panels, creating a robust box structure. Ensure all corners are square and securely joined.
- Add Corner Bracing (Optional but Recommended): For extra rigidity, especially if you anticipate heavy loads, cut small triangular pieces of plywood or use metal corner braces and secure them to the inside corners where the side panels meet. This significantly strengthens the cart's overall structure.
Step 3: Building the Sturdy Base and Handles
The base provides structural support and raises the cart off the ground, while the handles offer easy maneuverability.
- Construct the Base Frame: Cut your treated 2x4 lumber to create a rectangular frame that will sit beneath your plywood cart body. This frame should be slightly smaller than the cart's base to fit neatly. Join the 2x4s using screws and adhesive, ensuring it's strong and perfectly square. This frame will also serve as the anchor for the axle.
- Attach the Base to the Cart Body: Flip your plywood cart body upside down. Center the 2x4 base frame on the bottom and secure it firmly using long exterior screws that penetrate both the plywood base and the 2x4s. Ensure the screws are long enough for a strong hold but don't protrude through the inside of the cart.
- Install Handle Supports: Cut two lengths of treated 2x4 lumber for the handle supports. These will extend from the front of the cart body. Secure them firmly to the front 2x4 base and the front plywood panel using screws and adhesive, angling them slightly upwards for a comfortable pulling height.
- Attach the Dowel Handle: Drill appropriately sized holes (matching the dowel's diameter) into the ends of the 2x4 handle supports. Insert the 1-inch wooden dowel and secure it with screws through the 2x4s into the dowel, or by using strong wood glue for a permanent bond.
Step 4: Assembling the Axle and Attaching Wheels
This step creates the mobility for your durable grow cart.
- Prepare the Axle Housing: Drill holes through the 2x4 base frame where the wheels will be positioned. These holes should be large enough to accommodate the metal conduit. Insert the conduit through these holes, ensuring it's centered and extends slightly beyond the frame on both sides. This protects the axle rod and provides a smooth surface for the wheels.
- Insert the Axle Rod: Slide the all-thread rod (or sturdy steel rod) through the metal conduit. Ensure it's long enough to extend beyond the conduit on both sides to accommodate the wheels, washers, and lock nuts.
- Attach the Wheels: On each side of the axle rod, slide on a washer, then your chosen wheel, followed by another washer. Secure everything tightly with a lock nut. Ensure the wheels spin freely but have minimal lateral movement. Adjust the nuts as needed, being careful not to overtighten and impede wheel rotation.
Step 5: Adding the Finishing Touches and Protection
The final steps enhance both the aesthetics and longevity of your DIY grow cart.
- Apply Aluminum Trim: Measure and cut the aluminum trim pieces to fit along all top edges of your plywood cart. Miter the corners for a clean, professional look. Apply heavy-duty construction adhesive to the plywood edges, then carefully press the aluminum trim into place. Use small, exterior-grade screws or rivets if desired for extra security, pre-drilling tiny pilot holes to prevent bending the trim.
- Seal and Protect: Even with treated wood, applying an exterior-grade paint or sealant offers an extra layer of protection against moisture, UV rays, and general wear and tear. Choose a color that complements your garden!
- Final Checks: Give your completed cart a thorough inspection. Tighten any loose screws, ensure the wheels roll smoothly, and test its stability by applying some weight.
Tips for Maximizing Your DIY Grow Cart's Lifespan and Utility
Building a durable cart is just the first step. Here are some extra tips to ensure your homemade grow cart serves you well for many seasons:
- Regular Maintenance: Periodically check all screws and bolts for tightness, especially after heavy use. Lubricate the axle if you notice any squeaking or stiffness. Clean the cart regularly to prevent dirt and debris buildup, which can lead to premature wear.
- Customization Beyond the Basics: Think about adding specific features. You could install hooks on the sides for hanging hand tools, a small compartment for gloves, or even drainage holes in the bottom if you plan to use it for potting or holding wet items. For a dedicated "grow cart," consider removable dividers to keep potted plants stable during transport.
- Wheel Choice Matters: If you frequently navigate rough, uneven terrain, pneumatic tires offer better shock absorption and a smoother ride. For smooth, paved surfaces, solid rubber tires are puncture-proof and require less maintenance. Always choose wheels rated for the weight you intend to carry.
- Storage: While treated wood resists the elements, storing your cart under cover (in a shed or garage) when not in use will significantly extend its life and preserve its finish.
- Safety First: Always wear appropriate safety gear (gloves, safety glasses, hearing protection) when working with power tools. If you're new to using certain tools, practice on scrap pieces first. For more inspiration on designs, you might want to Explore 10 DIY Garden Cart Plans for Your Perfect Build.
Conclusion
Building your own durable DIY garden cart, or "grow cart," is a truly rewarding project that combines practicality with personal satisfaction. Not only will you save money and gain a custom-built tool perfectly suited to your gardening needs, but you'll also enjoy the pride of crafting something robust and functional with your own hands. By following these detailed steps and incorporating the tips for longevity, you'll create a garden essential that will simplify your tasks, transport your plants and tools with ease, and bring joy to your gardening routine for many years to come. So, gather your materials, roll up your sleeves, and get ready to revolutionize the way you work in your garden!
